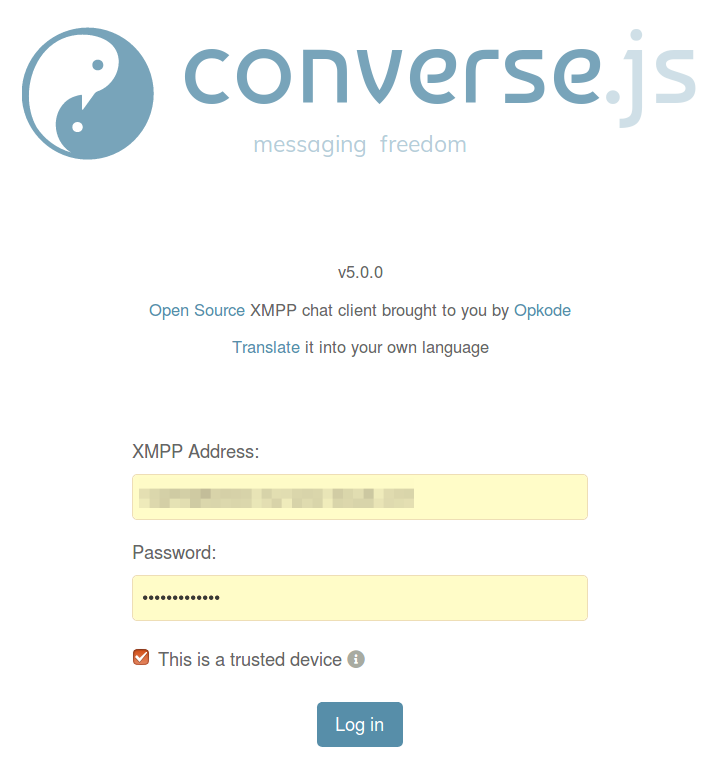
 I like ‘Conversations’, my XMPP based messenger app on my smartphone and the list of people I interact with has grown steadily over the years. In some cases I would prefer, however, to use a messenger on my notebook with the same account as on my mobile. So far, I didn’t have a solution that I liked. There is of course Gajim, but unfortunately the current version doesn’t like the old libraries still used in Ubuntu 16.04. Updating to a newer OS version just for Gaijim was out of the question, however. But now I’ve found ‘Converse.js‘ a great web browser based solution that exactly fits my needs.
Currently at version 5.0.x, I can use Converse.js in the browser with the same XMPP user account I use on my mobile devices. Messages sent or received are replicated between all my devices automatically and OMEMO encryption for chats works as it should. I heard OMEMO encryption might work for group chats as well but I did not give it a try as I only use groups without encryption as some group members use iOS devices that don’t yet support OMEMO for group chats seamlessly.
Sending and receiving images works as well, but OMEMO encryption is so far not implemented. Obviously this would be high on my wishlist for an upcoming version but for the moment, I can live without it. Other things that would be nice if they were implemented over time is a read-indication when a new message has arrived and I have seen it and a proper replacement of already sent messages when I edit them later.
There are three basic options of using Converse.js. The first is by using the Client on Converse’s server via the ‘Toggle Chat’ button in the lower right corner. The client requires a username in the form of ‘username@domain.com’ to be able to connect to an external XMPP server together with the password. Obviously your username and password goes to a foreign server so this is obviously not the most secure and most private approach.
The second option is to integrate Converse.js with your own XMPP Server. With Prosdoy, this works with very little effort. Prosody has a converse plugin that is activated with just two options in the configuration file. The first option activates the converse.js plugin that serves the client HTML page from port 5281, which is also used by the http_upload plugin. The second configuration option includes the OMEMO Javascript library (libsignal) from Whisper Systems in the web page:
# Add to modules_enabled AFTER as part of a Virtualhost!

modules_enabled = {
    -- other modules...
    "conversejs";
}

conversejs_tags = {

[[<script src="https://cdn.conversejs.org/3rdparty/libsignal-protocol.min.js"></script>]];

}
After restarting Prosody, the Converse.js GUI is immediately available at https://yourdomain.com:5281/converse and all required files are loaded from Converse’s server. With this approach, usernames and passwords remain in the system which is obviously much better then sending them to another server.
To further improve privacy and confidentiality it is also possible to host all required Javascript and CSS files on one’s own web server which does not necessarily have to be on the same machine as the Prosody XMPP server. After trying out the other options above, this is what I finally did for a number of reasons. A number of extra configuration options in the Prosody config file are required for this as explained in the help page for mod_conversejs. Two pitfalls are not mentioned there: The files in the Converse.js distribution file on Github are not in the places the plugin expects them. Furthermore, the fonts were not loaded correctly despite being in the correct location on my web server. After a while I figured out that Firefox refused to load them because of some cross-domain issues that can be resolved by allowing cross-domain loading of fonts via parameters in a .htaccess file in the Converse.js webfonts directory. Both issues can be debugged and fixed by pressing F12 in Firefox and then reloading the Converse.js tab. The debug console will then contain a number of error messages that will help to fix the font problem. To fix the file location problem, look for 401 errors in the network tab.