Earlier this year, I had (another) look at Wireguard. Beginning with Ubuntu 24.04, the client is now fully integrated in the network GUI and a Docker based server installation has become available as well. One thing I didn’t have time for at the time was to look at Wireguard on Android. So let’s have a go now.
Installing and using Wireguard on Android is pretty much straight forward. After installing ‘WG Tunnel‘ from the Open Source F-Droid store, I created a new Client on my server with the web based GUI and then used the 2D barcode option to import the configuration in WG-Tunnel on Android. It takes 20 seconds to do and the Wireguard tunnel is up and running. No manual parameter handling at all, just scanning a barcode with the app and things are done. I’m impressed!
To see if I would notice the Wireguard tunnel, I used it for a couple of days in always-on mode, i.e. for everything. And after a week I can say that everything worked as expected, Conversations XMPP voice and video calls were tunneled to my server and from there to the Internet, and I didn’t notice much of a difference overall.
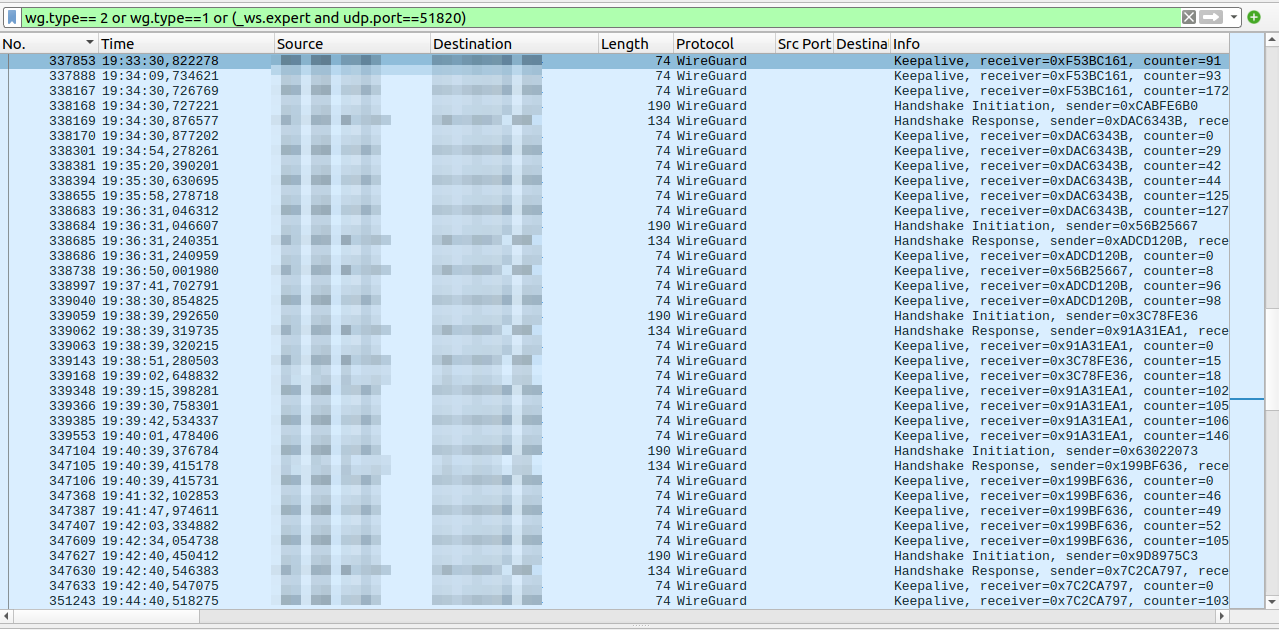
From a power management point of view, however, things are not quite so nice. Wireguard is based on UDP and as most connections involve a Network Address Translation gateway, Wireguard keeps sending keep alive packets around every 30 seconds. This means that the cellular modem is pretty much active at all times, there are only very few and very short opportunities to go to a more power efficient state. That’s quite a bit of a problem and, I have to admit, a showstopper for continuous use. Have a look at the screenshot at the beginning of this post for details.
In summary, I’m glad I have to option to quickly get a VPN on my smartphone up and running, but I’ll use it only in exceptional cases instead of by default. And as the reason for the keep alive packets are unlikely to go away any time soon, i.e. the NAT gateways, this is unlikely to change.
For most people this is probably not that big of a problem if you disable keep-alive in Wireguard and exclude “Google Play Services” (or other custom push apps) from the tunnel.
Because most apps only need to wake up using push notifications via “Google Play Services” when not in use. And if that is not running via the tunnel, then you also don’t need a battery-consuming keep-alive for the tunnel.
That said, if you have custom push servers or other requirements and really need a “full” but less battery-intensive wireguard tunnel, then a VERY HACKY workaround for this is to disable the keepalive in wireguard and build a side-channel using a long-running HTTPS connections via non-VPN profile.
First, set up a secondary profile or a work profile (using the opensource “Shelter” App). This profile will NOT be affected by any always-on VPNs from other profiles.
But the twist: On Android (even GOS), ALL localhost communication between profiles still works, regardless of ANY VPN settings.
You can communicate between always-on-fully-locked-down-VPN and non-VPN profiles just by opening high-port localhost sockets.
You could install Termux in your main profile (with the always-on VPN) and run something along the lines of:
curl -x http://127.0.0.1:8080 https://yourdomain.com/wgkeepalive | nc -u
This will connect to your own “/wgkeepalive” endpoint via a localhost-proxy and pipe any data into netcat to send via WireGuard.
And in your other profile (with direct internet access) you could run an app that which provides this proxy server for curl (for example “Polipoid” or “sing-box”) on 127.0.0.1:8080.
The proxy is necessary to establish the connection outside of the VPN, not inside.
(Also, Termux won’t work in a secondary profile due to hardcoded android paths referring to the main profile. It will tell you that on launch.)
On the HTTPS server side you have a script running behind “/wgkeepalive” which keeps track of the packetcount going in and out of the Wireguard Tunnel.
Rule 1: If a packet is going into the tunnel, but the last packet back from your phone back is >=30 seconds old, then the HTTPS connection sends a simple ‘ping\n’ message via the established connection. (This “reactivates” the WireGuard tunnel when needed.)
Rule 2: If nothing happened for 290 seconds (just below 5 minutes), then send a ‘ping\n’ anyways. (This keeps this long-running HTTPS connection up. 5 Minutes seems to be the NAT timeout for TCP for at least Vodafone and maybe o2. It’s been a few years since I last tested it.)
Curl will pipe this message into nc/netcat, and send it as random UDP packet via the Wireguard Tunnel, thereby re-establishing any NAT tables on the way.
The original packet (inside the tunnel) to your phone is lost (due to NAT timeouts), but TCP and QUIC re-transmits will handle this short interruption of the tunnel, once the random netcat-packet goes through and re-establishes NAT.
I use something like this for a few years now. There is a bit more hacky looping around the “curl | nc” part required to support reconnects. But for being such a mess it works surprisingly well.