Remote-KVM hardware is a great way to control servers and PCs remotely when device control is required while the operating system is not yet loaded, or installing remote control software is not possible. In a previous post, I’ve had a look at TinyPilot, a remote-KVM solution based on a Raspberry Pi. I’m using it on a daily basis now and in this part I’ll have a look at some more technical details such as power consumption, the USB power splitter and VGA connectivity.
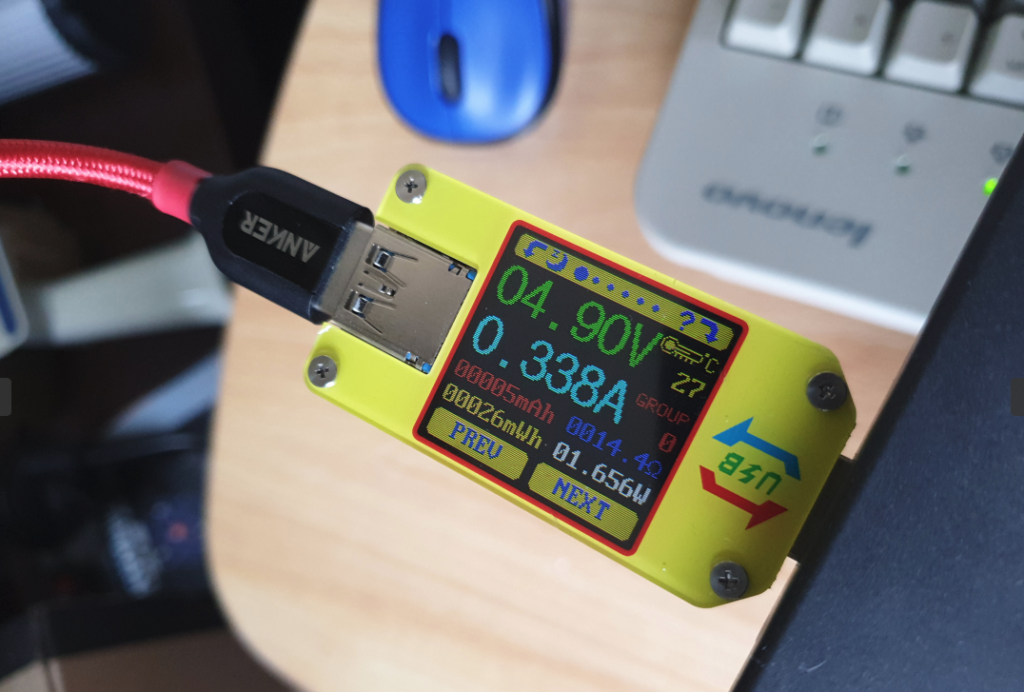
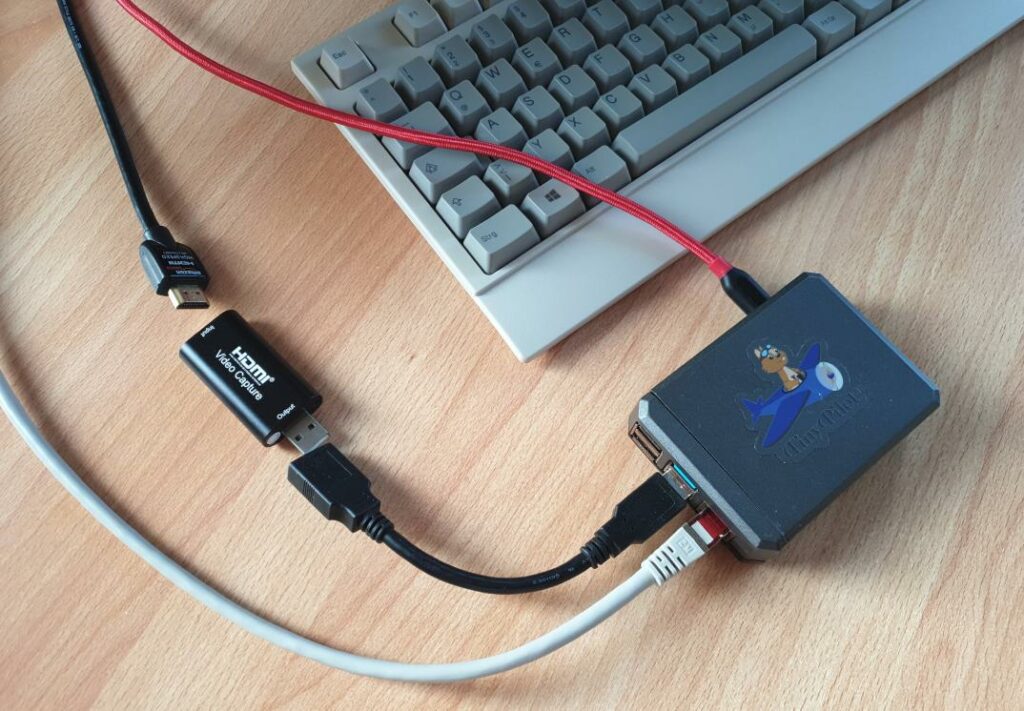
For my everyday use case I just need three cables connected to the Raspberry Pi: A cable for the video output of the remote device, a USB cable for supplying power to the Raspberry Pi for controlling mouse and keyboard remotely, and an Ethernet cable so I can access the remote-KVM over the network. This setup works great because the remote server or PC powers the Raspberry Pi via its USB port. I was wondering a bit at the beginning just how much power the Pi draws when used as a TinyPilot, and if a USB port would be able to power it under all circumstances. So I connected a USB power measurement device and as you can see in the image on the left, the TinyPilot draws around 350 mA. Even a USB-2 port can supply that amount of power. I’ve been using my setup over a USB-3 port, which can supply up to 900 mA, so there’s an even higher safety margin here.
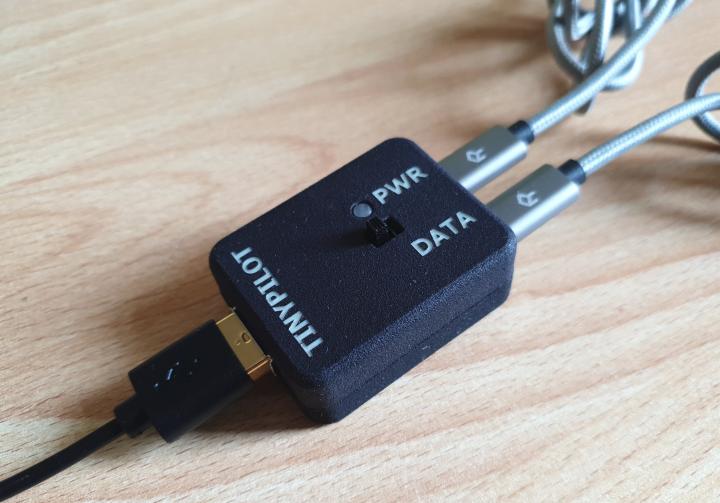
However, powering the TinyPilot from the USB port of the server or PC has a major disadvantage: When the server or PC reboots, it typically cuts power on the USB ports for a second or two, so TinyPilot reboots as well. That’s quite inconvenient if you want to enter the BIOS or select a different boot device. The solution for this is to supply power to TinyPilot with a USB splitter device. Power is then delivered via a charger while a second cable connects to the server or PC. These splitters seem to be a bit difficult to get but you can buy one from the TinyPilot website if required for your use case.
When installing operating systems remotely, one important feature is to be able to remotely ‘insert’ a USB boot device. In addition to simulating a mouse and keyboard over USB, the ‘pro’ version that the author sells as part of his hardware kits or separately, has this ability. I haven’t tried it out myself yet, but I guess it does what it’s supposed to.
Not included in the ‘TinyPilot Hobbyist Kit’ is a VGA to HDMI converter. As that might come in handy one of these days, I’ve ordered one from the author as well. I’ve given it a quick try and it does its job. Video quality at 1080p is usable but not sharp, so HDMI or DisplayPort are much better if the remote device has one of those outputs. Since DHL took their time to deliver the original kit, I ordered another converter from another source but this one was not working. Another good reason to just get the hardware from the developer.
One thing TinyPilot can’t do yet is to power cycle the remote server or PC. That would require a switchable 110/230V power source and that’s definitely a piece of hardware that won’t fit into a Raspberry Pi casing. But such devices are of course available and some of them can be controlled over USB and hence from a Raspberry Pi. This is not part of the product yet, however.
So much for the additional technical details. I’ve been using the solution for a couple of weeks now and it’s a real game changer for me!