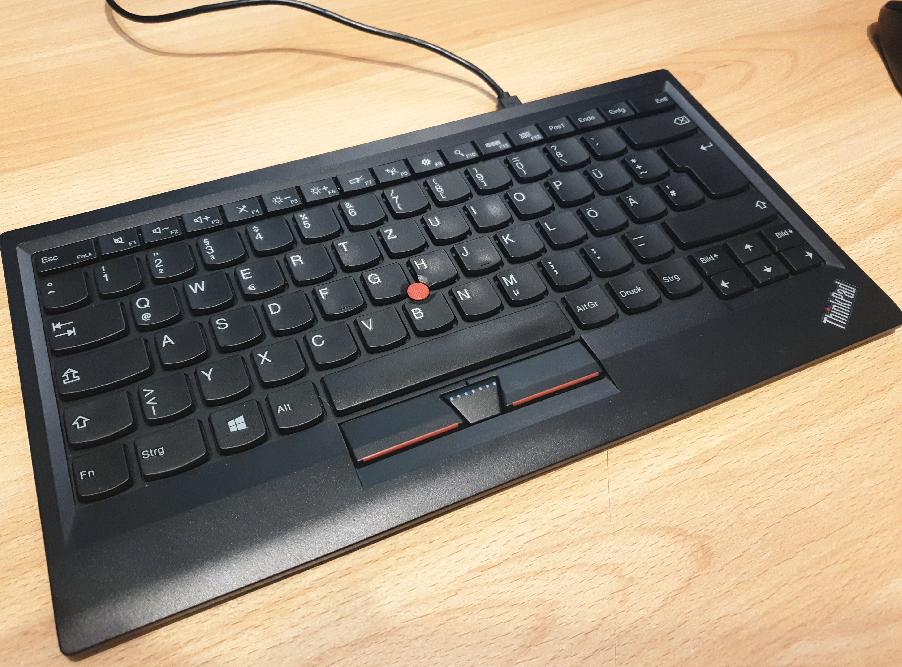
Many years ago I bought an external USB Lenovo Thinkpad keyboard because it’s small, which is great for traveling in combination an external screen. Also, the keyboard is very quiet and works and feels exactly like the keyboard in my Lenovo notebook. The only problem plaguing me with it for many years now is that the FN and CTRL keys can’t be swapped. As a result, I came to only use it when I had no other choice, i.e. to turn down the keyboard typing noise level at home. Quite a shame, but the FN key being at the far right just ruins any 10 finger typing efficiency for me.
But with a bit of a thrill, you can patch the firmware to swap the FN+CTRL key.
When I recently revisited the issue, I spent some time to see if somebody had come up with a solution in the meantime. And indeed, it looks like some people have spent a tremendous amount of time to figure out how the keyboard’s firmware works and how it can be patched!
And here is how patching the keyboard works in a nutshell: First, one has to download a (Windows) firmware update executable from a Lenovo web server, which contains the keyboard firmware. This seems safe enough for me, as the source is the manufacturer. Afterwards, a hex file editor is used to swap two bytes at two locations in the file. These bytes decide which modifier key (FN, STRG) is which physical key. And finally, the modified executable (which includes the firmware image) is used to update the keyboard’s firmware. Altogether, this only takes a few minutes. Have a look at the link I provided above for the details.
My keyboard’s model name I was able to modify this way is ‘KU-1244’ with a production date in 2016. I then bought another one to have an additional one as a backup. It has the same model name with a production date in 2021. Seems to be identical, the patch still works. Nobody gives any guarantees that this will work and not brick the keyboard in the process, and neither do I. However, in my case, it did the trick!