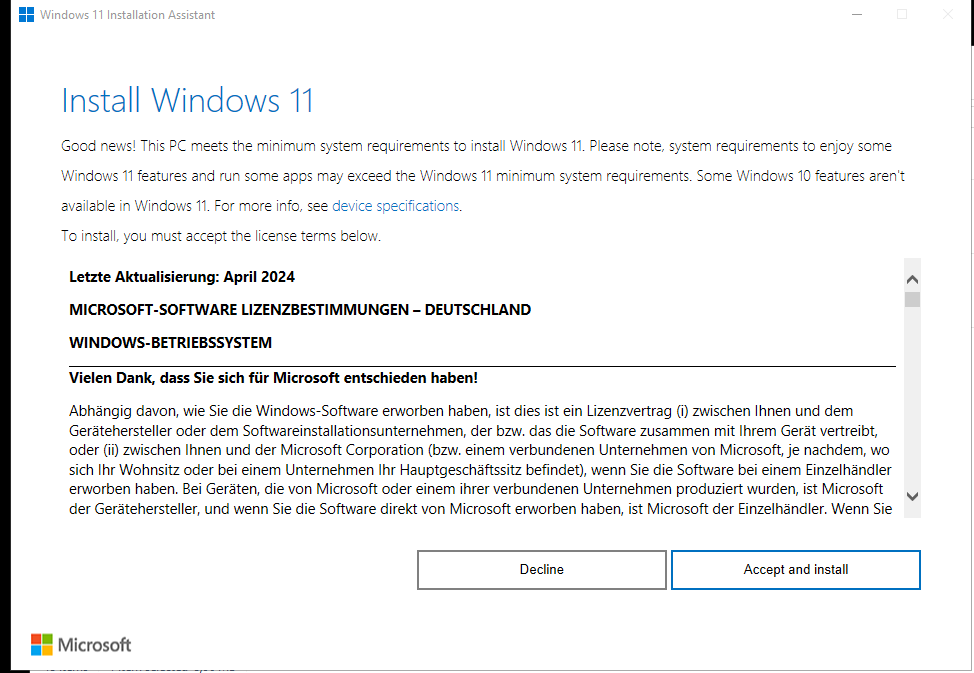
After realizing that Virtualbox provides everything these days that is required to install Windows 11 from scratch on my server that neither has a ‘supported’ processor nor a physical TPM, I dared to attempt the next step and upgrade my existing Windows 10 VMs to Windows 11. Unfortunately, it turned out that this was not as straight forward as my W11 from scratch install exercises suggested.
GPT, UEFI and TPM Are Nice To Have
Again, I decided to take the ‘conservative’ approach and first update a W10 installation to W11 in a VM I use on my notebook, with has a pretty recent processor. The main challenge: I’ve been using this W10 installation for many years and it still runs on an MBR boot record rather than a GPT partition table. This is a bit of a problem, as the W11 upgrade requires a GPT partition table, UEFI and Secure Boot in the VM.
It seems there are ways to get around this requirement by modifying registry entries, but I’d rather have a fully compatible system for the upgrade to prevent potential problems later. Fortunately, there is a way to convert a W10 MBR based system to UEFI, GPT and Secure Boot. Have a look at the instructions here. While easy to do, it’s quite a bit of a change, so it’s a good idea to create a VM snapshot before attempting this and perhaps go the extra mile and create a full copy of the VM image and configuration folder before proceeding.
It turned out that with the instructions behind the link above, converting from MBR to UEFI is actually straight forward and can be done in just a few minutes. After the conversion and activating EFI, Secure boot and a version 2 TPM in the Virtualbox settings for the VM, I was ready for W10 to tell me that the upgrade to W11 is now possible.
Patience Required

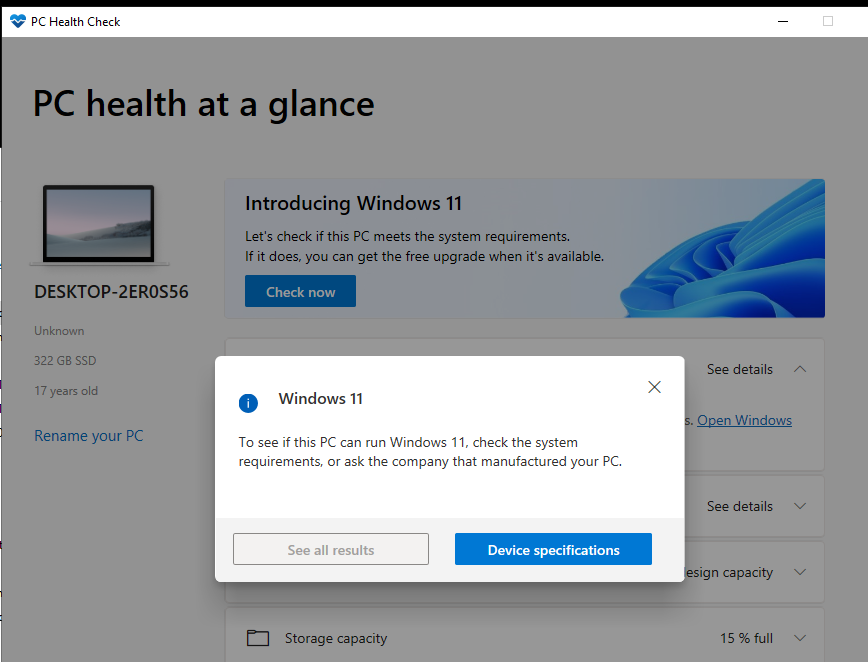
After booting with the new configuration, I was disappointed, however, as W10 still kept telling me that the system was not suitable for an upgrade to W11. No further details were given (see screenshot above). Why!? A bit frustrated, I installed a couple of tools to help me find the answer to what was still missing, but the only answer I got was that everything is in place and that the upgrade should work.
The solution: In one forum I read that the behavior is normal and one should just wait a few hours. And indeed, after leaving the VM running over night, it told me the next morning that the upgrade is now possible. Yes really, I’m not joking, just wait a few hours… There seems to be no way to accelerate this, just be patient.
80 GB is not Enough
So once W10 told me after a few hours that I can upgrade to W11 now, I created another VM snapshot, just in case. At the time of the upgrade, I had around 80GB on the virtual drive left. And as you have probably guessed, that is not enough and somewhere during the upgrade process, the drive became full and I had to abort the process. Seriously, the upgrade process does not check if enough disk space is available before starting!? Seriously!? Well, let’s not dwell on it too much, this why I created the VM snapshot for.
Recovery Getting in the Way
So I rolled back the snapshot and used the Virtualbox command line utility on the host to increase the virtual disk drive size. On Windows in the Virtual machine I then tried to extend the system partition. The problem: On a standard installation, there is a recovery partition right behind the system partition that can’t be moved. But it turns out that the recovery partition can just be deleted without harming anything with a Windows command line tool. Have a look here for the details. An important detail: Only delete the recovery partition, don’t try to change any settings, as this will create problems during the upgrade to W11. Once the recovery partition is gone, the graphical partitioning tool of Windows can be used to extend the system partition over the full drive.
Play it Again, Sam
With 180 GB of free space available, I then attempted another W10 to W11 upgrade of the virtual machine. And indeed, this was enough and after the upgrade, I still had 102 GB of disk space left. After a reboot, W11 came up and, most importantly, my official W10 license was still active. I let the VM run for a couple of days, with some reboots in between before writing this post and the W10 license is still active on the installation. So it looks like the update was successful!
Next Steps
So far so good, that was a W10 to W11 upgrade on supported host hardware and 95% of what I needed. In addition, I do have a W10 VM on a Linux based server that does not have the required hardware, as it is 8 years old. Would I be able to update a W10 VM on that system, too? That’s a story for the next post on the topic, but I can already tell you that this turned out to be an interesting challenge with a couple of twists.