In most cases when we are talking about ‘the cloud’ today, we are talking about virtual machines running on servers in a data center. The real servers below those VMs don’t have a screen attached nor do they have graphics hardware and the virtual machines running on them are usually only accessed for maintenance and configuration via ssh. That’s probably because running a virtual machine with a GUI and a desktop in the cloud that is then accessed over VNC or RDP is not done very often but comes in handy for quite a number of applications. When I recently experimented with this I noticed that there aren’t many descriptions around how to set up such a system. And those that exist did not lead to immediate success, as the way a Linux desktop is started seems to change constantly and depends on which desktop is used. Instructions how to launch a VM with a current version of the Xfce desktop did actually work but I wanted to have an Ubuntu 20.04 Gnome based desktop GUI on a VM in the cloud. After a couple of hours I managed to get a working setup and here is how it is done:
Before I start I want to mention one limitation of my solution: When the VM is started the Desktop does not start automatically, it has to be started via an SSH login. More on this at the end of this post.
Preparations
So let’s get to it. I wanted to have an Ubuntu 20.04 with a Ubuntu/Gnome desktop in the cloud so I clicked myself a VM at a cloud provider and configured it with an Ubuntu 20.04 server image. Some cloud providers like Amazon have a firewall in front of VMs that has to be configured to allow access to a number of TCP ports, but that is independent of the GUI part I want to focus on today. So if yours does, you have to open port 22 for SSH and port 5900 for VNC.
How Does That Virtual Display Work?
As the VM in the cloud doesn’t have a real graphics card and the VM environment there doesn’t simulate one, the OS has to simulate it on its own. The solution I picked for this is Xvfb (X virtual frame buffer) that can be used by the gnome shell and the window manager just like the real thing. To make the ‘virtual screen’ remotely accessible, I use x11vnc, a VNC server that does a great job at compressing the data and hence performs very well over the Internet. Other options I have found are TigerVNC and other flavors that already combine the virtual screen and VNC solution. Just in case you want to try alternatives.
Installing GUI, Theme, Font and other Packages
The Ubuntu 20.04 server image does not have any GUI packages installed so that’s the first thing that has to be done after the VM has booted:
sudo apt update

sudo apt install x11vnc xvfb gnome-shell ubuntu-gnome-desktop autocutsel gnome-core gnome-panel gnome-themes-standard gnome-settings-daemon metacity nautilus gnome-terminal dconf-editor gnome-tweaks yaru-theme-unity yaru-theme-gnome-shell yaru-theme-gtk yaru-theme-icon fonts-ubuntu tmux fonts-emojione
Create a ‘Normal’ User and ‘Beautify’ The Environment
My VM only came with a root account so I created an extra ‘normal’ user for the GUI and added the account to the sudoers file so it can run commands as root later.
# Create user 'cloud'
adduser cloud

# Add the 'cloud ALL...' line to the sudoers file with the following command:
sudo visudo

cloud ALL=(ALL) NOPASSWD: ALL
As the name of my VM was clunky I renamed it to ‘cloud’:
# Change hostname in 2 files into 'cloud'

sudo nano /etc/hostname
sudo nano /etc/hosts
If you are a fan of tmux, it’s also a good idea at this point in time to put a .tmux.conf file in the /root directory. Like changing the hostname, it’s an optional step:
nano /home/cloud/.tmux.conf
chown cloud:cloud /home/cloud/.tmux.conf

# Content
setw -g mouse on
set -g status-bg blue
set -g pane-active-border-style fg=blue

#For HOME and END keys to work
bind -n End send-key C-e
bind -n Home send-key C-a
set -g history-limit 10000
One more step that must be done before we are finished: Define a password for accessing the GUI over VNC:
x11vnc -storepasswd

# Now reboot
Now Start The Desktop
And that’s pretty much it. After rebooting, the desktop can be started with the following commands via an SSH login. Adapt the screen resolution to your liking!
export DISPLAY=:0
Xvfb $DISPLAY -screen 0 2048x1200x16 &
sudo -u cloud gnome-session &
x11vnc -usepw -forever -repeat -shared -display :0

# Option: Endlessly repeat x11vnc invocation in case it fails at some point.
while :; do x11vnc -usepw -forever -repeat -shared -display :0 ; done
After that the Ubuntu flavored Gnome desktop is up and running for user ‘cloud’ and can be accessed with a VNC viewer program (via the default port 5900) such as Remmina on Linux, Tightvnc Viewer on Windows, etc.
Configure the Desktop to Your Linking
To get as close to the Ubuntu/Gnome desktop look and feel as possible I changed the following desktop settings:
# Dock settings

 * Add 'terminal' and 'gedit' to dock!
 * Remove HELP from Dock

# Reduce Dock program icon sizes
gsettings set org.gnome.shell.extensions.dash-to-dock dash-max-icon-size 32

# Get the minimize, maximize, close buttons back on program windows
gsettings set org.gnome.desktop.wm.preferences button-layout ":minimize,maximize,close"


# Run 'gnome-tweaks' and set the following:

 * tweaks --> appearance  # Set to Yaru theme
 * Set font to "Ubuntu regular" (almost at bottom of the menu)
 * Extensions: activate "Ubuntu dock"
 * Windows: Attach Modal (off), Center new windows (on)
 * Top bar: Seconds (on), Calendar week Numbers (on)

# Make the dock locked and stay visible even when a window
# is dragged over it
gsettings set org.gnome.shell.extensions.dash-to-dock autohide false
gsettings set org.gnome.shell.extensions.dash-to-dock dock-fixed true
gsettings set org.gnome.shell.extensions.dash-to-dock intellihide false

# Change the following settings in the 'Ubuntu Settings' (top right of the screen)

 * Disable screen blank (Privacy Submenu)
 * Disable Automatic Screen Lock (Privacy Submenu)

# Firefox

 * Activate the menu in the window bar again
 * Install ublock origin to make the Internet usable
 * about:config --> browser.tabs.closeWindowWithLastTab  (set to false)

# Nautilus:

 * Set to 'list view'
 * Smaller icons
And Now To Some Quirks
So everything looks pretty nice at this point but over time I noticed a couple of quirks that I want to mention here as well:
If you don’t like some of the locales that were set for the terminal, here’s how they can be changed. For reasons that escape me, the terminal on the Gnome shell does not start under some circumstances and leaves an error message in the syslog about unknown locales. If I configure en_US.UTF-8 straight away, it still doesn’t work, even after rebooting. However, when first configuring something ‘non-English‘ and then go for en_US, things are working:
sudo locale-gen de_DE.UTF-8
sudo update-locale LANG=de_DE.UTF-8

sudo locale-gen en_US.UTF-8
sudo update-locale LANG=en_US.UTF-8

# Base date/time change in bash window:
LC_TIME=en_US.UTF-8
sudo update-locale LC_TIME=en_US.UTF-8
As mentioned above the solution works well but the GUI doesn’t start up automatically. I tried for hours getting GUI auto-startup working. When putting the four GUI startup commands above in a script file and invoking them during boot via /etc/crontab they will execute but ‘gnome-session‘ remains unhappy. However, if I invoke the script via SSH from another computer after booting, things just work fine. So SSH seems to set something in the system to make ‘gnome-session‘ happy. I am out of ideas so if you know how to fix this, please let me know! In the meantime here’s an ssh command that starts the script and exits automatically (so it can be semi-automated…):
ssh root@XXXXXXXXXX "(/root/start-gui.sh; exit) &>/dev/null &"
The Cloud is the Cloud is The Cloud… Or Not
I tried this procedure on 3 different cloud infrastructures and each time I got a different result and things had to be adapted a bit. I guess this is mostly due to every cloud provider using a somewhat adapted Ubuntu 20.04 base image and simulates the virtual hardware in a somewhat different way.
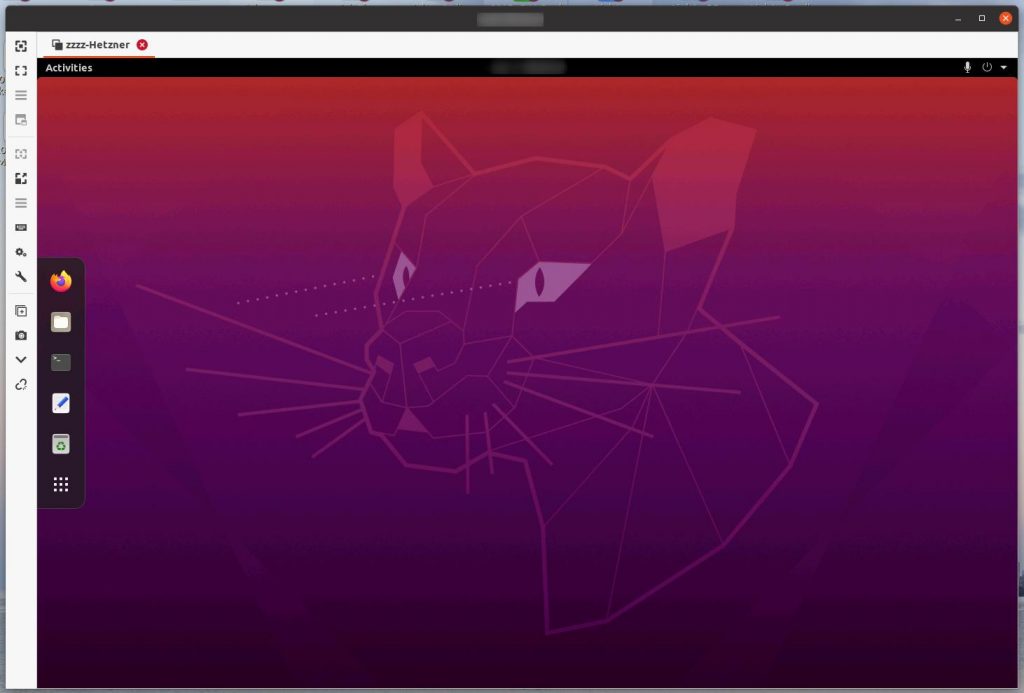
The procedure as described above works as it is with the Ubuntu 20.04 server image on the Hetzner cloud.
The procedure also works as well on my KVM based private cloud at home. However, there is a driver for a splice GUI coming up automatically that will take 100% of CPU resources. It’s not related to the virtual frame buffer at all and can simply be killed from the shell without any negative effects. In addition, I also deleted the ‘Display Splice‘ and ‘Video QXL‘ hardware emulators from the VM configuration as I don’t need them and wanted to make sure they are not interfering with my virtual frame buffer setup.
On Amazon AWS EC2 instances and their adapted Ubuntu 20.04 server image, Display 0 is already used. So perhaps there is a graphics card emulation in the background? No idea. But one can work around this by modifying startup GUI script from above as follows. Changes are marked in red. Note that the screen parameter of Xvfb remains ‘0’, despite changing the display number to 1 in two instructions!:
export DISPLAY=:1
Xvfb $DISPLAY -screen 0 2048x1200x16 &
sudo -u cloud gnome-session &
x11vnc -usepw -forever -repeat -shared -display :1

# Option: Endlessly repeat x11vnc invocation in case it fails at some point.
while :; do x11vnc -usepw -forever -repeat -shared -display :1 ; done
Encryption, Privacy and Security
One last thing I’d like to mention at this point is that the way this is set up, VNC communicates WITHOUT encryption. That’s good enough for a test setup but if you want some privacy and security, you better encrypt communication. The best way to do this is to bind x11vnc to localhost only (x11vnc -localhost option) and then using SSH remote port forwarding in combination with the VNC viewer. ‘Method 2’ on this page will give you some tips how to do that. The disadvantage is of course that you have to configure the VNC viewer for creating and using the SSH tunnel. Not too difficult on Linux, but on Windows clients it’s a bit of a pain.
Update 20.3.2021: For details on how to use a firewall in front of such a desktop, have a look here.