In the previous post on the topic, I gave a general overview of how Nextcloud and OnlyOffice can play together. There are many ways to combine the two online services and hence, installation instructions that can be found on the net from Nextcloud, from OnlyOffice, from third parties and from each with many different installation options. This confused me to no end, I couldn’t see the wood for the trees anymore. But I finally figured it out and if you already have a private Nextcloud instance up and running, you can install OnlyOffice with just a few commands on the shell if you are willing to go for a no frills setup.
The Setup
And this simple setup looks as follows:
1) Nextcloud runs on a server or a virtual machine. It is reachable via a domain name (e.g. nextcloud.myserver.com), and uses the standard TCP port 443 for https. A non-standard TCP port works for me as well without any changes in the procedure that I will describe below. Note that I have no idea what happens if only http on port 80 is used without encryption.
2) OnlyOffice runs on A SEPARATE server or virtual machine. This is important so I’ll say it again: For this simple approach, OnlyOffice has to run on another server. Like the Nextcloud server, it is also reachable via a domain name (e.g. office.myserver.com).
And just to underline the independence of the Nextcloud server and OnlyOffice: In my setup, my Nextcloud instance runs on a virtual machine in Cologne, while my OnlyOffice containers run on a virtual machine in a data center in Finland. Why? Because I can, and because the distance between the two virtual machines makes no difference.
3) The Server OS: I chose to use Ubuntu 22.04 as the base image for my OnlyOffice VM and installed ‘docker’ and ‘docker-compose’ via the standard apt command. No need to install the latest and greatest version. At least not at the time I wrote this blog entry.
4) The two servers need to be able to see each other. That basically means you must be able to ping each server from the other.
5) Don’t install any fancy stuff: Forget about reverse proxies, firewalls and other fancy things on the OnlyOffice server. Keep it bare and simple. You can add such things later once you figured out how things work in general.
OnlyOffice Installation Process
Here’s a quick overview of the installation process: The easiest way to install OnlyOffice is by using ‘docker-compose’. As Nextcloud requires a https connection, OnlyOffice needs to run on port 443 after installation and needs to provide a valid certificate. The docker-compose version can use Letsencrypt to do this on the fly. Once the OnlyOffice server is up and running, a plug-in has to be installed on the Nextcloud side, so Nextcloud and OnlyOffice can talk to each other.
That being said, here are the commands to be executed on that SEPARATE virtual machine:
sudo apt install docker docker-compose git
git clone https://github.com/ONLYOFFICE/Docker-DocumentServer
cd Docker-DocumentServer
Now edit the ‘docker-compose.yml’ file and add the following lines in the ‘environment’ part of ‘onlyoffice-documentserver’:
      - JWT_ENABLED=true
      - JWT_SECRET=PUT-A-SUPER-GOOD-PASSWORD-HERE
      - JWT_HEADER=Authorization
      - JWT_IN_BODY=true
      - LETS_ENCRYPT_DOMAIN=YOUR-DOMAIN-NAME-HERE
      - LETS_ENCRYPT_MAIL=YOUR-EMAIL-ADDRESS
A couple of words on these lines: First, you will notice that some of this is already in the docker-compose.yml file but commented out. Just leave it as it is, copy and paste the section above into the file and into the section mentioned above. Once done, don’t forget to change the password, domain name and email address. And now pay special attention: The JWT_HEADER needs to be set to ‘Authorization‘. It looks like over time, this was changed into ‘AuthorizationJWT‘, but it seems this was never changed on the Nextcloud side. So beware, this variable must be set to ‘Authorization‘!
OK, after these variables are in place run the following command:
docker-compose up -d
This will trigger a lot of activities the first time around. Once finished, your OnlyOffice server is up and running. You can check that things are working correctly as follows:
1) The ‘netstat -tulpn’ should show ports 80 and 443 being open to the world (i.e. IP 0.0.0.0)
2) In your web browser go to the domain name of your OnlyOffice server. You should see a standard OnlyOffice webpage. You can’t do anything with it, but it shows that port 443 works and that the Letsencrypt certificate has been properly requested and installed during the installation process..
And that’s it on the OnlyOffice side!
NextCloud App For OnlyOffice
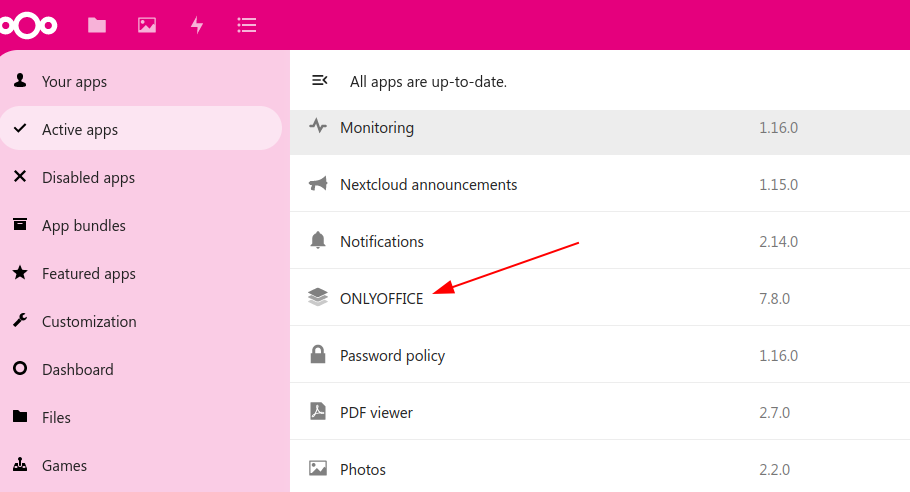
Now over to the Nextcloud side. Here, the ‘OnlyOffice’ app needs to be installed via the admin account on the graphical user interface in the web browser.
Note: You might come across some documentation that talks about the ‘Community Document Server’ app. Forget about it, that is something completely different and utterly broken at the time of writing. Just forget about it and move on.
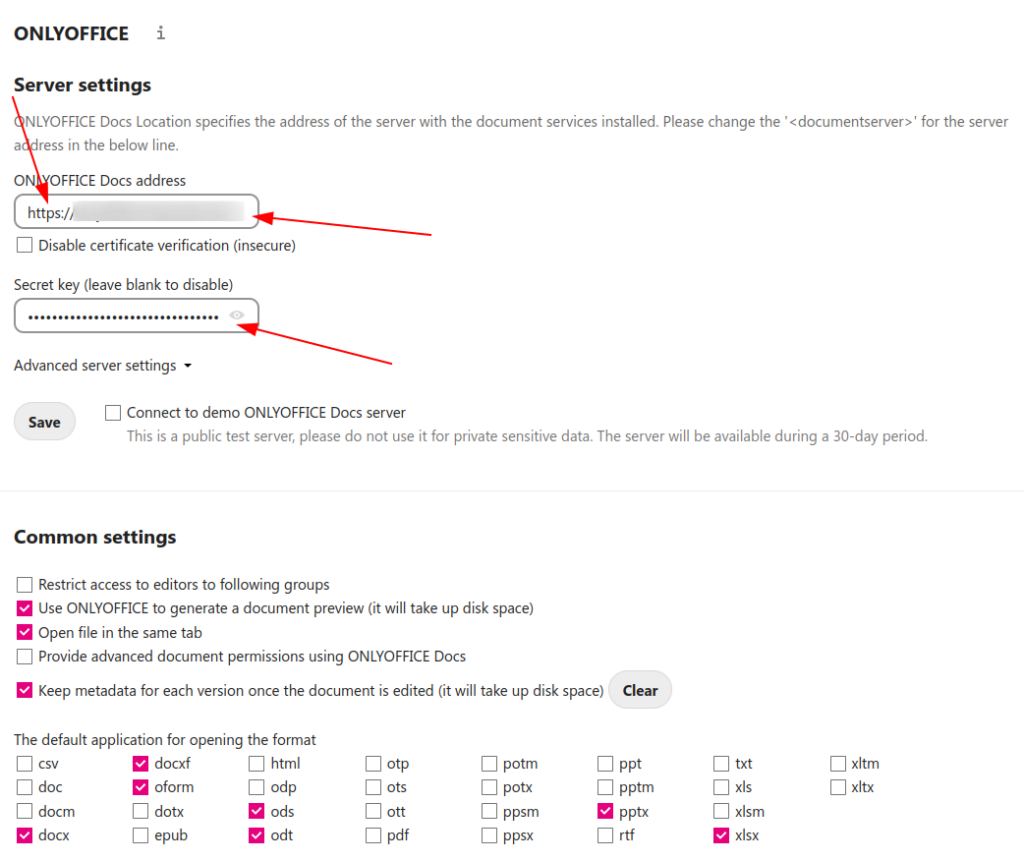
Once the app is installed, go to Nextcloud’s administration section and click on ‘OnlyOffice’. There, provide the domain name at which the OnlyOffice server is reachable and the password you have configured on the OnlyOffice side in the ‘JWT_SECRET’ variable. Now click ‘save’, which will trigger a self test. If this succeeds, go down to the ‘Common settings’ which will magically appear after the test has succeeded and have a look if you want to change something. In my case I just left those settings as they were.
And that’s pretty much it, no need to change any of the settings.
Should you get an error when clicking ‘save’ and hence the ‘Common settings’ do not appear in the first place, have a look below in the ‘pitfalls’ section of this post.
Done!
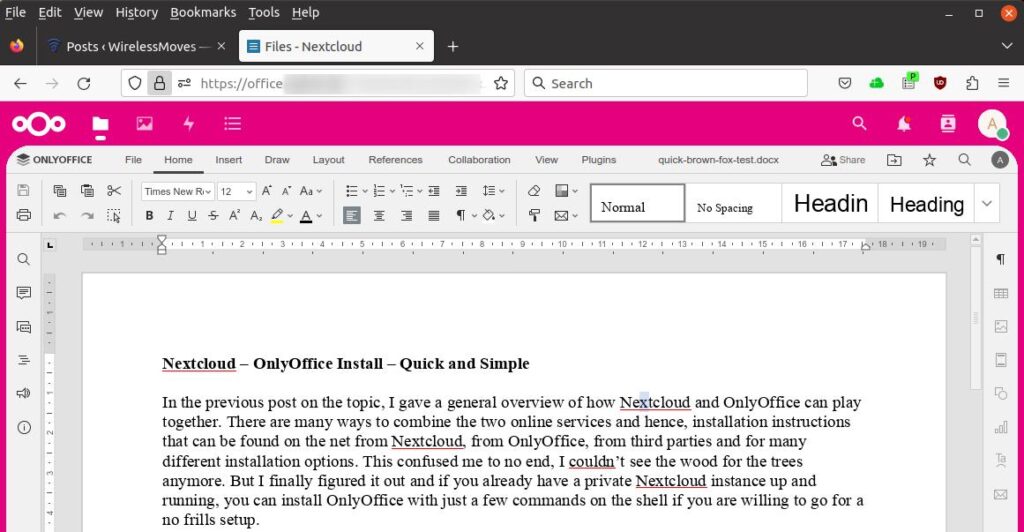
And that’s it, you can now go ahead and start editing docx, xlsx and other documents stored on this Nextcloud instance with OnlyOffice. When you click on a document, Nextcloud and OnlyOffice talk to each other, and the document gets sent to the OnlyOffice server where it is modified. While being edited, the file is frequently updated on the Nextcloud server.
Pitfall 1: Nextcloud Apache Configuration
I have two Nextcloud installations at home and with the instructions above, I was able to get one of the two working. The other one, however, would always fail when I pressed the ‘save’ button after entering the configuration in Nextcloud’s OnlyOffice connector app. Here’s the mysterious error message:
Error when trying to connect (Error occurred in the document service: Error while downloading the document file to be converted.
It took me quite a while to figure this out, but consistent 403’s in the Apache server logs of my Nextcloud server finally led me to the answer: When comparing default-ssl.conf file of the two servers, I noticed that the Nextcloud/Apache combination that was working with my OnlyOffice server allowed to override the configuration for the main path, while the Nextcloud/Apache combination that didn’t work did not. So I changed the following setting:
        <Directory />
                Options FollowSymLinks
                #AllowOverride None
                AllowOverride All
        </Directory>
After changing AllowOverride from None to All and restarting Apache, clicking the ‘save’ button in the OnlyOffice connector app in Nextcloud had the desired result and things started to work.
Pitfall 2: Ephemeral Letsencrypt Cert Storage
And here’s another pitfall the standard documentation tells you nothing about: While experimenting with my OnlyOffice container setup things suddenly stopped working after a couple of restarts and https requests to port 443 failed. Again, after a while and a bit of Wireshark tracing, I found out that Letsencrypt is contacted whenever I started the setup. I then had a look at the docker-compose.yml file and noticed that the path to the certificate is mapped to a volume and hence, the certificates are lost whenever the container setup is destroyed. That also means that during every restart, a new certificate needs to be generated and I assume this stops working at some point due to Letsencrypt rate limiting. My quick and dirty fix: Just use another domain name. Not ideal but I was not in the mood to start experimenting with volumes. Not yet, anyway.
Summary
Even though this post is quite long, the basic procedure to get an OnlyOffice instance working and connecting it to a Nextcloud installation can be done with just a couple of shell commands and giving a username and password to the Nextcloud / OnlyOffice connector app. And so far, things work like a charm!
Hi Martin,
thank you for this post series. Have eagerly awaited the last post, as I also faced these problems a few years ago. The inaccurate documentation makes it much more complicated than necessary.
One addition. Since OnlyOffice 7, working on mobile devices without a commercial license is no longer possible. But with version 6.4 you can still use it.
Can you possibly explain to me why rabbitmq and postgresql are used in the stack? I have been using OnlyOffice for years without these two containers and have not experienced any problems in combination with NC.
thanks & greetings
Nico
Hi Nico,
One more post on this topic to come on how to run OnlyOffice behind a reverse proxy.
Yes, I noticed that mobile editing is not possible. Fortunately, not my main use case. On the other hand, the yearly cost for a full OnlyOffice on my own server for private use is 149 euros as far as I understand their pricing scheme. I’d be willing to pay that one way or the other, as there is tons of work going into this and I’m happy to pay for the software as long as it’s open and free and no data being sucked out of my installation. As far as I can tell, that’s the case here.
Rabbitmq and Postgress? No idea, I’m just using it as it came. Could be interesting to just comment this out in the docker-compose.yml file and see if the installation still works 🙂
-Martin