 After telling my story about upgrading and virtualizing my cloud at home in a previous post, I thought I’d follow-up on the story with some technical details on my new implementation. After deciding to migrate the services I host at home such as Nextcloud, Selfoss, OpenVPN, etc., into virtual machines, the big question was which virtualization environment to use.
Should it be Virtualbox?
At first I was tempted to use Virtualbox, an open source project Oracle has inherited with its acquisition of SUN a few years ago. I’ve been using Virtualbox on my notebook for many years now and often use several virtual guests simultaneously. On some days, several virtual machines with different Windows versions are running concurrently with Ubuntu workstation instances that encapsulate my software development environment and instances that let me try out new things before I use them on my main system. Yes, I have 16 GB of RAM in my notebook for a good reason. The great thing about Virtualbox on the desktop is that it has great guest display drivers with auto-resize and USB-2 and -3 support for mapping devices into the guest machines. Unfortunately these drivers are proprietary and not open source.
While I don’t need the display drivers for the servers in the virtual machines, I needed USB mapping support as I wanted to control devices from a virtual machine via a USB connected power strip. As this piece of Virtualbox is proprietary and not open source I was a bit hesitant to use it. Also, Virtualbox is best installed and maintained via a PPA which is also something I wanted to avoid.
Should it be KVM/Qemu?
An alternative a friend made me aware of is KVM/Qemu, the standard Linux virtualization environment. To my delight, the whole setup can be installed right from the Debian repositories on the VM host (to be) with a single command:
sudo apt install qemu-kvm libvirt-bin ubuntu-vm-builder bridge-utils
So I gave this one a try as well and was quickly convinced by its simplicity to prefer this solution over Virtualbox I already knew.
Running and Managing KVM/Qemu Instances
While everything can be done from the shell I have to admit that I prefer a GUI on the notebook for tasks like starting and stopping virtual machines on the server, to create new virtual machines, making snapshots, monitoring processor use, etc. Again, the software can be installed on the notebook (not on the VM host) with a single command:
sudo apt install virt-manager
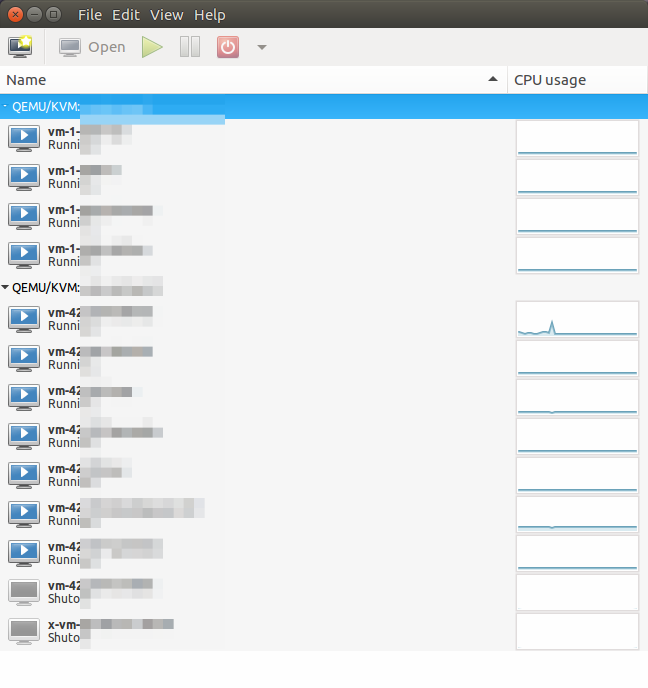
The screenshot at the top of this post gives an impression of how the main screen looks like. While new virtual machine disk images are by default created in /var/lib/librit/images, I decided to create a separate encrypted partition and to store my disk images there. To keep these images as small as possible so I could transfer them to other systems when required (more about that in another post) I created another encrypted partition to hold the data of all virtual servers that I would not want to be on the disk of the virtual machine itself. Already encrypting those partitions on the host operating system saved me a lot of work later-on as everything in all virtual machines that ever ends up on the disk gets encrypted without the virtual machine images having to do anything for it.
Networking
By default, IPv4 network address translation is used when creating a new VM instance. As all of my virtual machines offer services over the network, however, they are all running in ‘BRIDGED’ mode. Each VM gets its own MAC address and thus looks to other devices on the network and other virtual machines running on the same server like a real physical device. While virtual machines can communicate with other devices in the network and also with each over over the bridge interface, communication between the VM host and the virtual machine guests is not possible this way. I’m not quite sure why, but even the virt-manager GUI makes one aware of this when switching from NAT to BRIDGE mode so it’s not a bug it must be a feature…
Keeping Things Up to Date
One disadvantage of running more than a handful of many virtual machines simultaneously is the overhead of keeping them updated. Fortunately, there are nice tools such as ‘Terminator‘ with which one can open SSH sessions to different servers simultaneously and link them together so all commands get posted to all shells. A great way to run the same shell commands on many virtual machines simultaneously.
There we go, this is my setup and after running it for several weeks now, I’m still more than happy about the choices I made for my virtual cloud setup at home.