 In the previous post I had a lot at how I can get my newly acquired NB-IoT module connect to the network. This is part two that now focuses on how to actually send some data back and forth across the NB-IoT network to a server on the Internet.
Let’s Ping
The first thing one does to check if a network connection is up is to ping a server on the Internet. The Waveshare/Simcom 7000e has a special AT command for this that does the job. Before the ping can go through, however, it’s necessary to specify the Access Point Name (at+cstt), establish the IP bearer (at+ciicr) and to check if things have gone right by querying the local IP address that was assigned (at+cifsr). For details have a look at Simcom’s AT command specification. If a proper IP address is shown it means that connectivity has been established and that the ping can be sent to the server (at+cipping). The following dialog shows how the commands and parameters look like in practice. Depending on the network and subscription, the APN name, username and password vary, so I replaced them with xxxx, yyyy and zzzz below. The first ping command that was sent only contained a small payload and the round trip times I have seen varied between 150 and 400 ms. With 200 bytes payload the round trip time jumped up significantly and I’ve seen response times between 300 and 800 ms. This gives one a first idea just how narrowband the channel is.
ati
SIM7000E R1351

at+cstt="xxxx","yyyy","zzzz"
OK

at+ciicr
OK

at+cifsr
10.252.196.47

OK
at+cipping="8.8.8.8"
+CIPPING: 1,"8.8.8.8",3173,112
+CIPPING: 2,"8.8.8.8",383,112
+CIPPING: 3,"8.8.8.8",264,112
+CIPPING: 4,"8.8.8.8",319,112


OK
at+cipping="8.8.8.8",10,200
+CIPPING: 1,"8.8.8.8",4813,112
+CIPPING: 2,"8.8.8.8",476,112
+CIPPING: 3,"8.8.8.8",384,112
+CIPPING: 4,"8.8.8.8",352,112
+CIPPING: 5,"8.8.8.8",368,112
+CIPPING: 6,"8.8.8.8",435,112
+CIPPING: 7,"8.8.8.8",365,112
+CIPPING: 8,"8.8.8.8",352,112
+CIPPING: 9,"8.8.8.8",480,112
+CIPPING: 10,"8.8.8.8",385,112
Let’s Do Some HTTP
O.k., a ping is nice but how about some real data traffic? There are several options including opening a TCP or UDP session to a remote server and then sending data by typing it into the shell. Another approach is to use the HTTP stack that is built into the Simcom NB-IoT modem and let it do the protocol overhead. The following sequences show how an HTTP request and response looks like to the a server that just returns ‘test’ and to Googles search engine front page that returns around 10kb of HTML code. Note that the ‘at’ command to set the APN is different from the one used above sending the ping.
AT+SAPBR=3,1,"APN","xxxx"
OK

at+sapbr=1,1
OK

at+sapbr=2,1
+SAPBR: 1,1,"10.251.38.47"
OK

AT+HTTPINIT
OK

AT+HTTPPARA="CID",1
OK


##### First a server that returns 'test', 4 bytes

AT+HTTPPARA="URL","www.m2msupport.net/m2msupport/test.php"
OK

AT+HTTPACTION=0
OK
+HTTPACTION: 0,200,4

AT+HTTPREAD
+HTTPREAD: 4
test
OK

###### Now with Google, returns 11132 bytes of data

AT+HTTPPARA="URL","www.google.com"
OK

AT+HTTPACTION=0
OK
+HTTPACTION: 0,200,11132

AT+HTTPREAD
+HTTPREAD: 11132
<!doctype html><html itemscope="[...]
Where to Go From Here
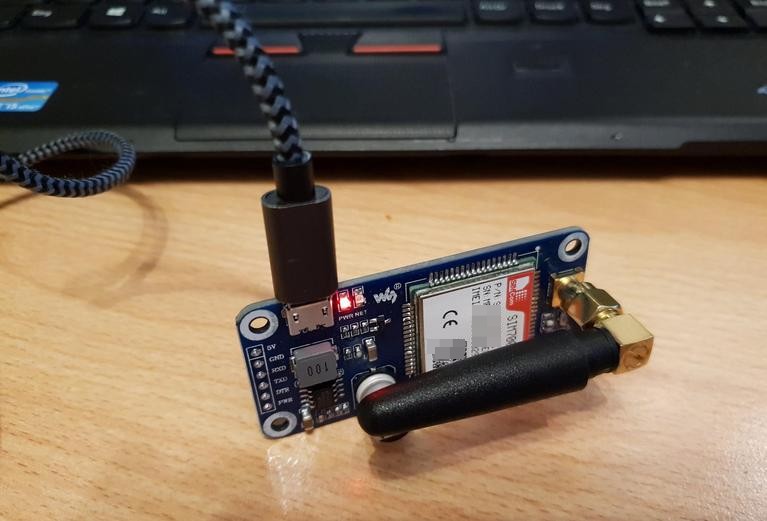
There we go, these were the first steps, all done over a USB cable and a serial port emulation to the Waveshare/Simcom device. Now that I’ve mastered the basics and know that my module and SIM card work, the next step would be to connect the module to a Raspberry Pi via the GPIO connector. From a quick look at the Waveshare manual I take it that only 5 pins of the Raspberry Pi’s GPIO connector are actually used, and data is exchanged with the two UART pins. A few Pi configuration changes seem to be necessary to enable the UART pins for this purpose and once done and rebooted, /dev/ttyS0 is ready to be used with Minicom (as on the PC) or with any other program that can use a tty. But that’s for another day.